Jose Agustin Andreu
STUDENTS' WORK
2 Dimensional Design
Shapes
Images
Page 1 | Page 2
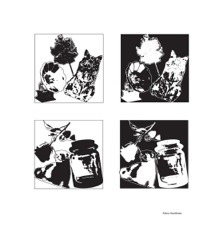
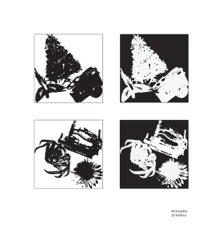
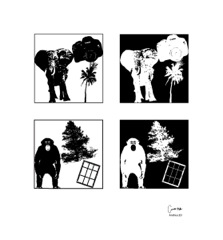
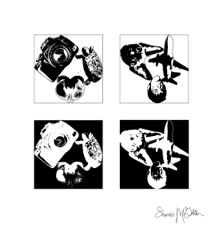
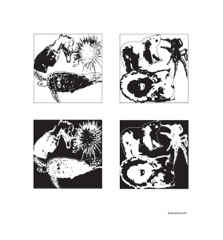
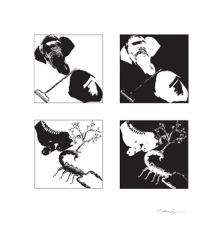
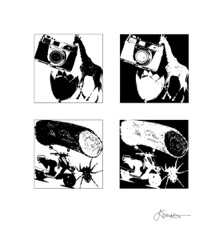
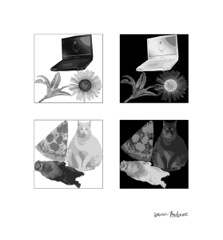
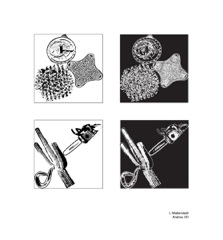
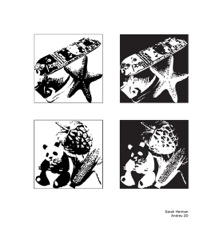
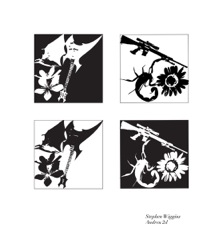
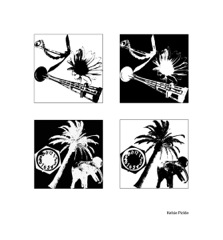
Positive Negative Images
Click Image for Manual Slides
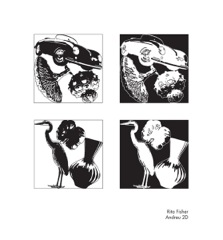
f13RFisher
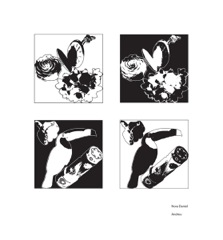
f13Nora
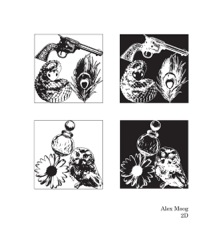
f13Moog
This project will make tracings in black and white of the six images.
Go to File > Open the Positive Negative Space Reversal assignment.
Give it another name so that when you save it doesn't overwrite the first file.
go to File > Save As and rename the document " lastnameposnegimages"
to save a new copy into your folder.
click Save or press Return, and click Ok or press Return in the illustrator dialogue window.
Go to Window > Layers to make sure the Layers Window is open.
In the layers window you can see the layer with the designs. Open the layer by clicking on the little triangle next to the thumbnail image. All the objects that make up the document should be visible. If you click on the radial button next to the name you will directly select that object. See how the object is selected on the Artboard once you click its radial button in the Layers palette.
Making new Layers
It is easier to work on multiple objects if each object is a group or/and in its own layer.
Each of the six shapes will be put into its own layer.
Make new Layers to work in by clicking the Create New Layer at the bottom of the layers palette.
Each new layer will appear numbered at the top of the Layers palette.
Make six new layers.
In the layers palette, select the first layer, the one with the pos-neg designs, by clicking on its name. A selected layer indicates the space in which one is working. Select one of the shapes you want to fill with an image. Notice that a small color square appears next to the name "path" when it is selected. It will also show up if it's in a group and in its layer. Click on the name of the path to select and work on that layer and to change the name and color of the object path. It will turn blue to indicate it is selected. Both the little color square and the name bar should be selected in the same place. Go to the Palette Options, the small black triangle at the top right of the Layers Palette, and click to show the options available. Select Duplicate Path and notice how a copy of the selected shape appears above the same and it's now selected.
Click and drag the little color square to a new layer, wait till the arrow appears on the left before releasing and it will stay with a new color, or drag the path name into the new Layer and wait for the arrow to appear on the left before releasing. You now have a copy of the shape in a new Layer. Double click on the layer name and give it a more descriptive name. Click and dragging is a convenient way of moving objects between layers and groups. Select the name of the new layer if it's not selected. We will be working on that Layer next. Make sure the new duplicate shape is selected by clicking on its path radial button. Look for it on the Artboard and see how it's selected. One of the advantages of moving objects through the layers palette is that they remain in the same position in the document window.
Repeat the procedure for each of the six shapes. You should have seven layers, the original with all the shape designs and six more, each with a duplicate shape and its own descriptive name. Another of the advantages of working on different layers is that layers not currently being worked on can be hidden from view. It helps things from getting too confusing and interfering with each other during selection.
You can lock the original first layer by clicking the empty box next to the right of the eye on the layer's name.
That keeps it from being modified by accident. Then you can hide it till you need it again by clicking the eye
next to it. Hide all the layers except the one you will be working on next.
Select the layer to be worked in by clicking its name. Open the layer by clicking on the little triangle next to the thumbnail image. The object path of the shape should be visible. Select the shape with the Selection tool or by clicking on the radial button next to its path name. Regard the fill and stroke icons on the tool palette. Click on the fill and make it None. Click on the stroke icon and make it black. This will be our cropping frame.
Go to File > Place and select an image that will go into the selected shape.
Select and press Return.
See how it was placed in the layer that was selected and which has the shape to be used as a frame.
Adjust the scale of the image to an appropriate size. Hold the Shift key to constrain the proportions
and/or drag on the corners or sides.
The frame and/or cropping shape must be above the image. If necessary in the layers palette drag the image below the shape path. Click outside the objects to deselect all.
Verify that the current layer is selected in the layers palette.
Select the image with the selection tool or by clicking its radial button.
Vectorize the image by going to the pull down menu next to Live Trace in the Control Palette and selecting Tracing Options, or go to Object > Live Trace > Tracing Options, and access the Tracings Options window.
The image is now a tracing.
It will need to be Expanded later but first fit it onto the shaped path by using the Selection tool.
Rotate, Move, and Scale so that the image fits on the shape. Not just inside the shape edges but spilling across the edges to replace its full area. Don't worry if there are unusable parts of the image outside the frame shape. Those will be cropped later.
Once the image has been adjusted in size and shape to replace the Frame shape, select Expand in the Control Palette. The trace becomes a Group when Expanded. Expanding makes all the vector paths and points accessible.
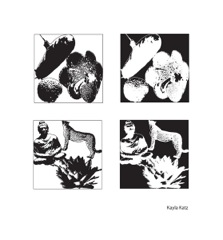
f13Katz
f13Handman
f13Forsythe
f13Cranston
f12McGillin
u12RRussell

u12Holland
f11Svencner
f11Smiths
f11Roderick

f11Gulas
u11Wallerstedt
u11Herman
s11Wiggins
s11Pickle
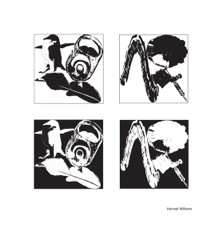
F10Williams
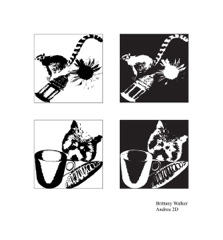
F10Walker
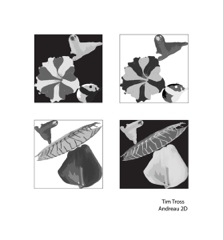
F10Tross
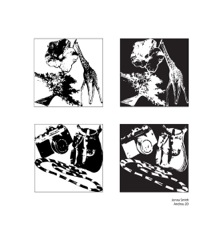
F10Smith

F10Simon
Page 1 | Page 2
Shapes
Images